If you’d like to make sure that your pop-up works on your website and perform some tests before making it officially live, here are the steps we recommend you to follow :
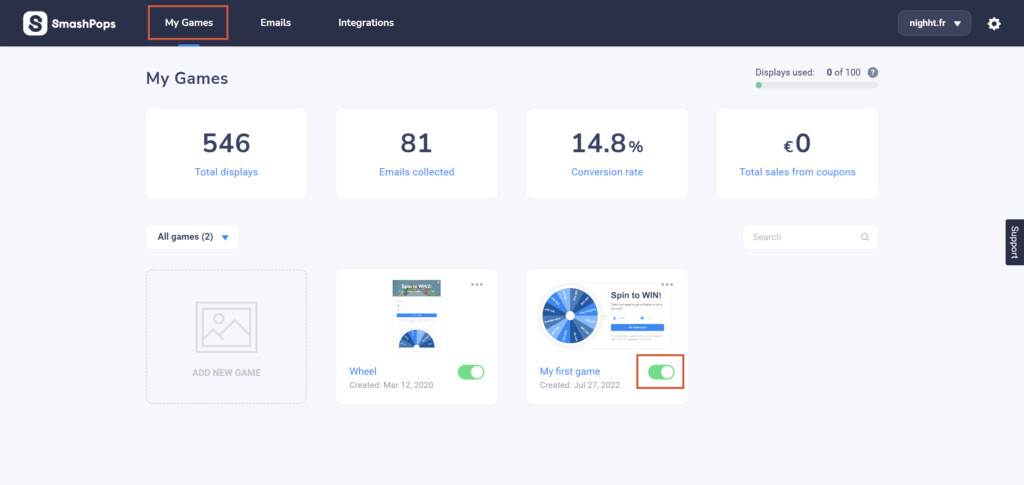
- To test your pop-up, you need to make it live first. But be careful, by default the pop-up is displayed everywhere on your website. For the testing, we recommend you to display your pop-up on a specific page that is not too visible to your customers (don’t forget to remove this targeting rule when you want to make it live officially). Once your pop-up is configured, you can make it live by clicking on the toggle switch (cf screenshot below).
- Can’t see your pop-up? Remember that SmashPops will consider you as a normal user, exactly like your customers, which means that all the display rules you set up will also apply to you. By default, the display rules are set to:Maximum displays = Display max once every day for each user.
Display even after the user performed the action? = No.If you leave it that way, you will see your pop-up one time, but if you refresh the page, you’ll need to wait for the next day before it shows up again. Furthermore, if you test it out and submit data, the pop-up will not appear anymore because you’ve already performed the “play” action.For testing purposes, you can either use a private navigation window in your browser (you’ll be considered as a brand new visitor) or temporarily change the display rules to have the popup appear more often.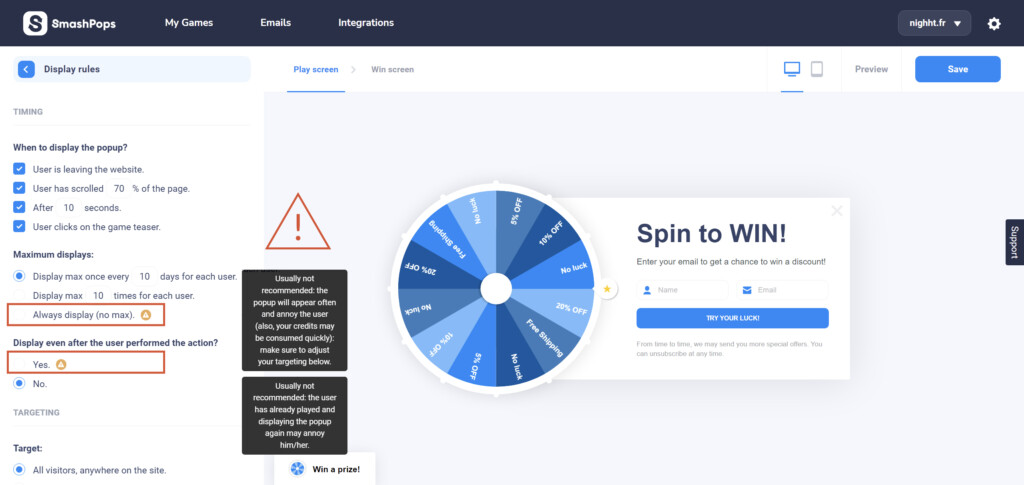
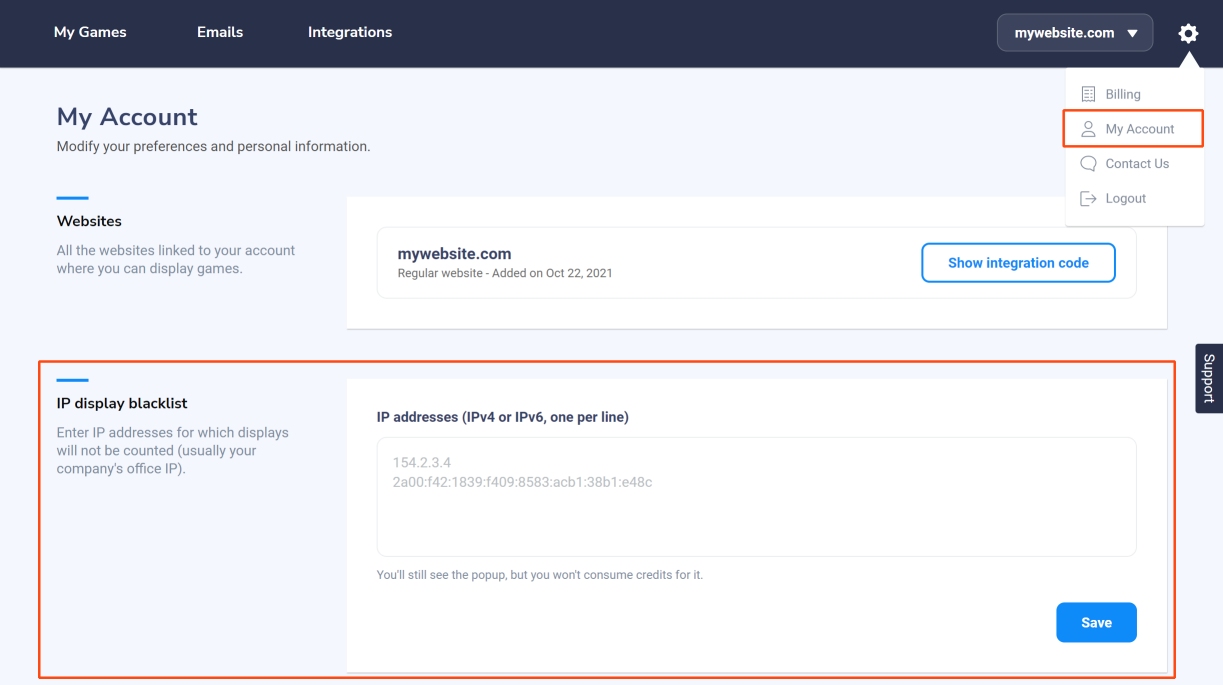
One additional tip : you can specify IP addresses for which the pop-up displays will not be counted by going to “My Account > IP display blacklist” (this will avoid consuming your credits while testing). You should be able to find out what your IP address is by clicking here or here.